You’ve gone through the entire wedding invitation process, and you’ve received your invitations in the mail. So, now what? It’s time to assemble your invitations and get them in the mail. Here’s a simple breakdown of how to assemble your wedding invitations.
Prep
First, go wash your hands! It’s important to start with clean hands and a clean surface. Clear off your kitchen table or anywhere you have enough room to spread out. Lay out all of your supplies to get ready.
RSVP Postage
Including the postage on your rsvp card envelope is proper etiquette. This makes it easier for guests to send it back to you. In a world where it’s hard to get your guests to respond, do everything you can to make it easier for them! If you’re collecting online RSVPs, you can skip this step.
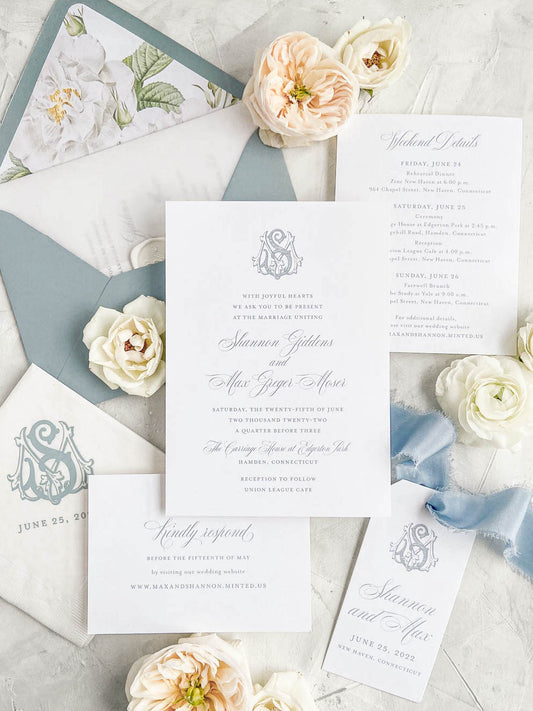
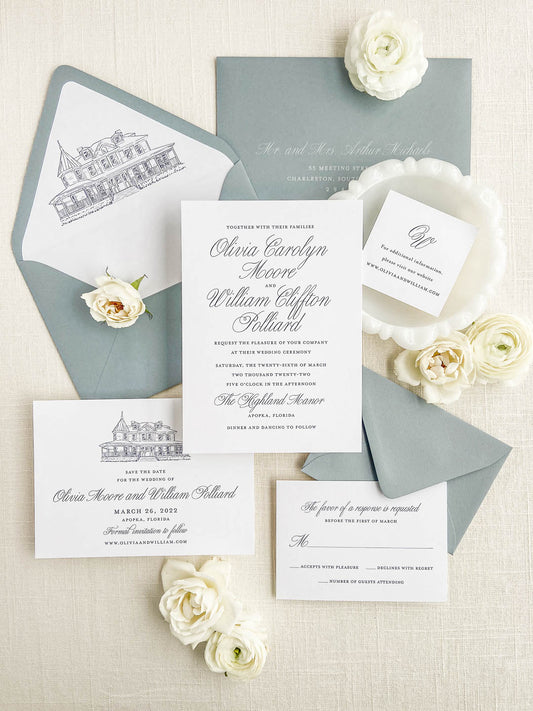
Order of Cards
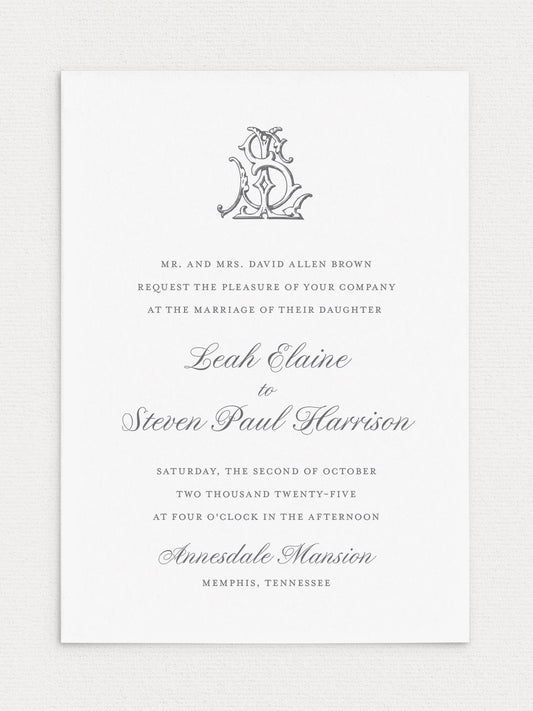
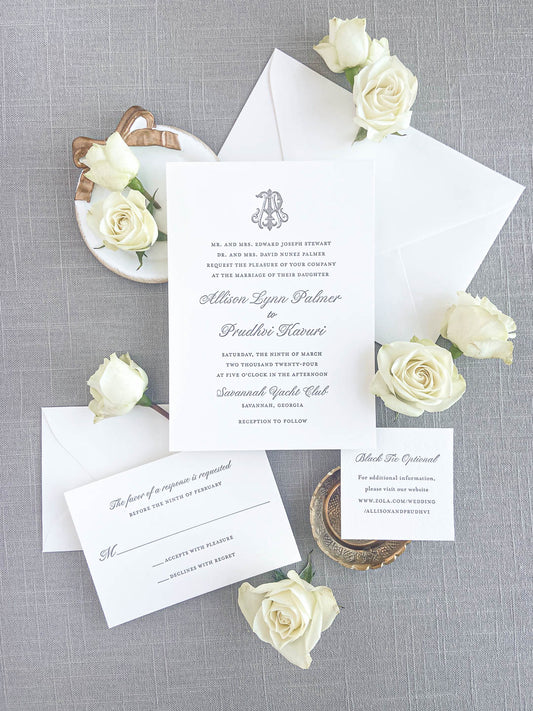
Start with the invitation on the bottom. Then, stack your other cards on top of the invitation starting with the largest card and ending with the smallest card. If you’re doing mail-in RSVPs, slip the RSVP card under the flap of the response envelope.
*Do not insert the RSVP into the envelope, and definitely do NOT seal that envelope. Trust me, it has happened!
Wrap or Ribbon
If you’re using a vellum wrap, ribbon, belly band, or any other kind of wrap to hold your pieces together, tie or seal these around JUST the invitation alone first. Then, slip the remaining card inside. This ensures the wrap will be snug around the cards.
Stuff the Envelopes
If you’re only using one envelopes, open the envelope flap, rotate it clockwise, and insert your invitation suite so that it will be removed right-side-up using the right hand.
If you’re using double envelopes, insert your invitation suite the same as above into your inner envelope. This envelope shouldn’t be sealed, and it should come without adhesive on it. Insert the inner envelope into the outer envelope so that the names are face up when the flap is opened.
Seal the Envelopes
Envelope moisteners work well because they include a little extra glue in them. Saliva can be used, but who wants to lick that many envelopes?? You can also use a damp sponge, but make sure not to over-wet your envelope or the flap won’t stick. Using a glue stick is one of my favorite ways to seal the envelope. It ensures that the envelope will stay closed. However, there’s a better chance the envelope will rip when it’s opened.
Apply Postage
At this point, I always recommend taking a completed invitation to your post office to be weighed. They’ll give you the most accurate amount of postage you’ll need. Once you’ve purchased the correct amount of postage, apply them to front of your envelopes.
Finally, it’s time to mail your wedding invitations to your guests! I recommend taking them back to the post office, and either giving them directly to the worker at the counter or dropping them in the large outgoing mail box! A lot of people will recommend hand cancelling to keep them from going through the machines. However, most post offices don’t offering this service anymore. Even if they do, your invitations are still likely to go through a machine at some point.
There you have it! Now that your invitations are mailed out to your guests, you can sit back and wait for your responses to starting rolling in!